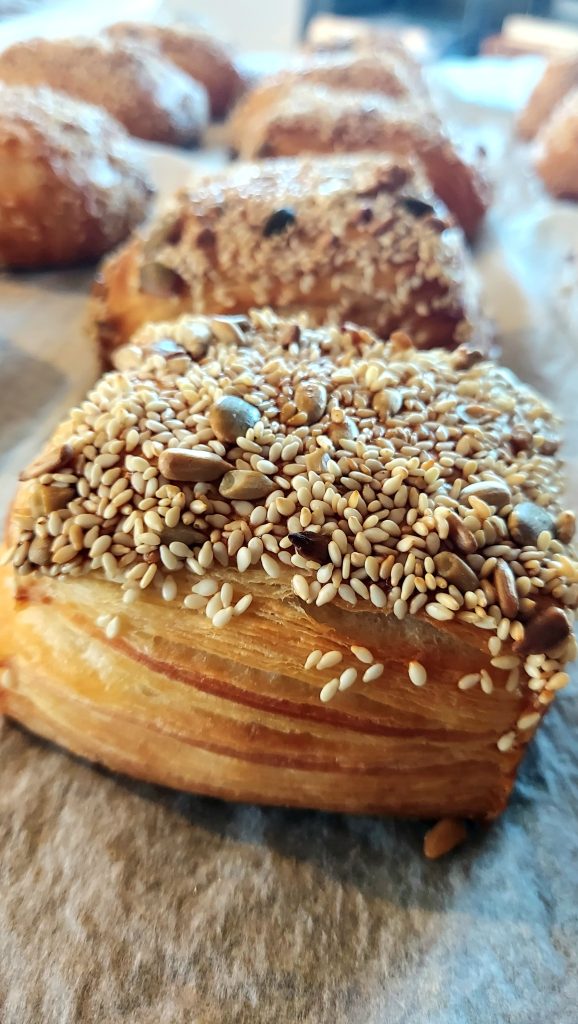
If you’re looking for the ultimate breakfast or brunch treat, these Danish Butter Buns with Seeds are just what you need! Known traditionally as Tebirkes, Köpenhamnare, or Birkabuns, these Danish breakfast buns are irresistibly flaky and buttery, perfect for pairing with your morning coffee. Typically, Danish Tebirkes are topped with poppy seeds, which give them their signature appearance. However, in this recipe, we’re trying a twist with a blend of white sesame seeds, pumpkin seeds, and sunflower seeds for added texture and flavor. These buns are easy to prepare ahead, as they cold-proof overnight, making them ideal for a stress-free morning.
Jump to Recipe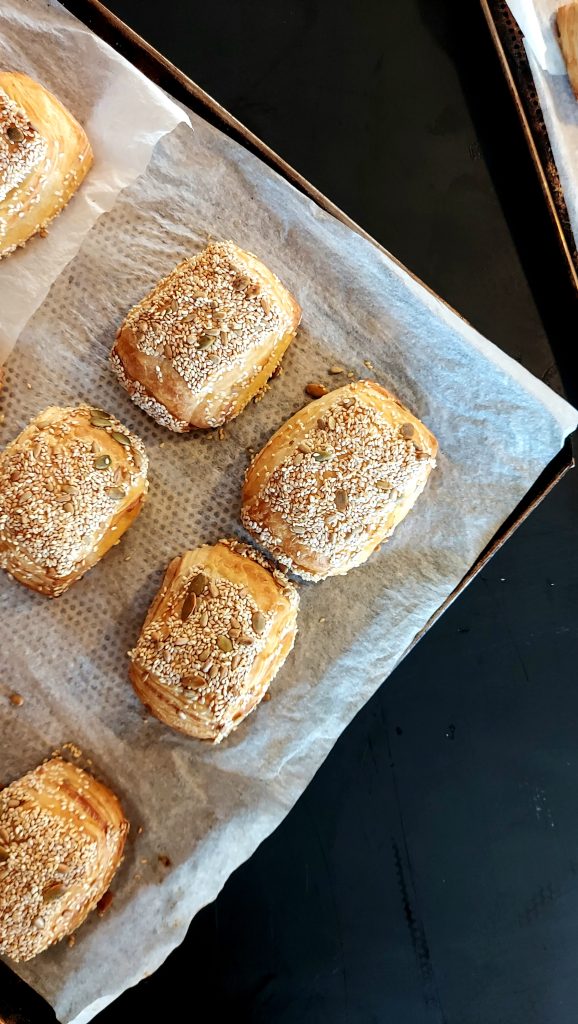
Below, you’ll find a breakdown of the ingredients and equipment needed, along with detailed instructions to make your own batch of delicious Danish Butter Buns with Seeds.
Ingredients You’ll Need:
- Fresh yeast
- Milk
- Sugar or honey
- Salt
- All-purpose flour
- Butter
- Egg yolks
- Eggs for brushing
- Seed mix (white sesame seeds, pumpkin seeds, and sunflower seeds)
Equipment You’ll Need:
- Large mixing bowl
- Whisk
- Rolling pin
- Baking sheet
- Parchment paper
- Pastry brush
- Plastic wrap
Recommended Tools for Baking Danish Butter Buns with Seeds
To make your baking process even easier and more efficient, here are some essential tools that will help you get the best results with these Danish Butter Buns with Seeds:
- Rolling Pin with Handles – A traditional rolling pin with handles is key for rolling out dough evenly, especially when working with laminated doughs. It helps ensure the dough is rolled to the perfect thickness for those buttery layers.
- Rolling Pin – This type of rolling pin provides good control when rolling out dough, especially with laminated doughs. It also gives you the flexibility to apply even pressure and shape the dough precisely, making it ideal when you’re working with dough for shaping buns or creating stripes.
- Pastry Brush – Perfect for brushing on an even egg wash, which gives the buns a golden, glossy finish and helps the seed topping stick.
- Kitchen Scale – Precision is crucial in baking. A kitchen scale ensures your measurements are accurate, particularly for ingredients like flour, butter, and sugar.
- Stand Mixer – If you’re looking to save time and effort, a stand mixer with a dough hook attachment is fantastic for kneading dough to the right consistency. It takes the strain out of the process, leaving you free to focus on the fun parts like shaping and baking.
These tools will help ensure that your Danish Butter Buns with Seeds come out perfect every time, with minimal fuss!

Instructions
1. Prepare the Dough
- Begin by crumbling the fresh yeast into a large mixing bowl and dissolving it in cold milk. Add sugar (or honey) and salt to the mixture.
- Gradually add the flour while stirring until the dough becomes smooth and elastic. Knead until the dough pulls away from the sides of the bowl and has a silky texture. Cover the bowl with a kitchen towel and let it rest for about 30 minutes.
2. Prepare the Butter Sheet
- To make laminating easier, press the cold butter into a flat sheet, about a third the size of the dough you’ll roll out. Place the butter between sheets of parchment or plastic wrap, pressing evenly, then refrigerate to keep it firm.
3. Laminate with Butter
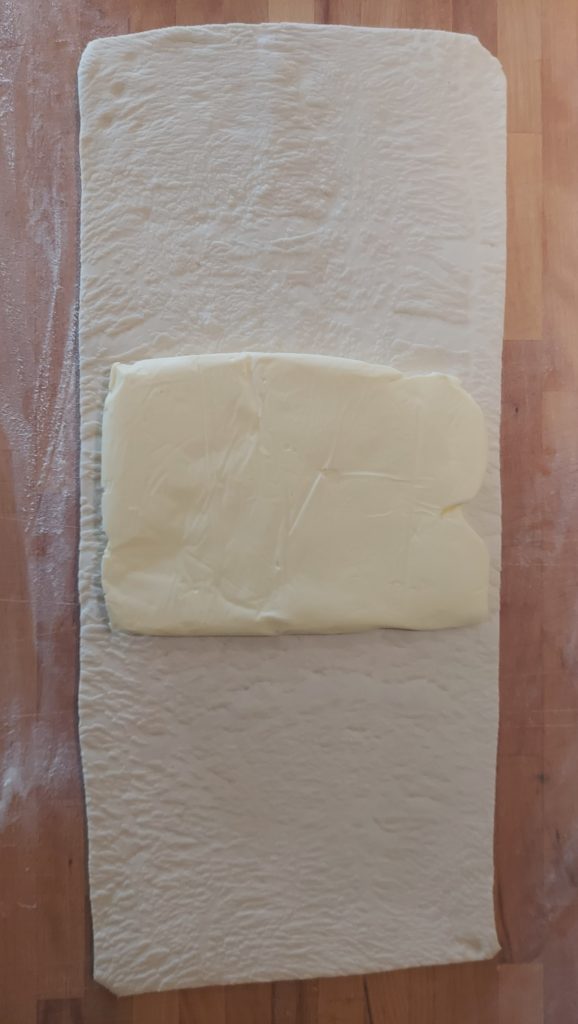
- Roll out the dough on a floured surface until it’s three times the size of your butter sheet.
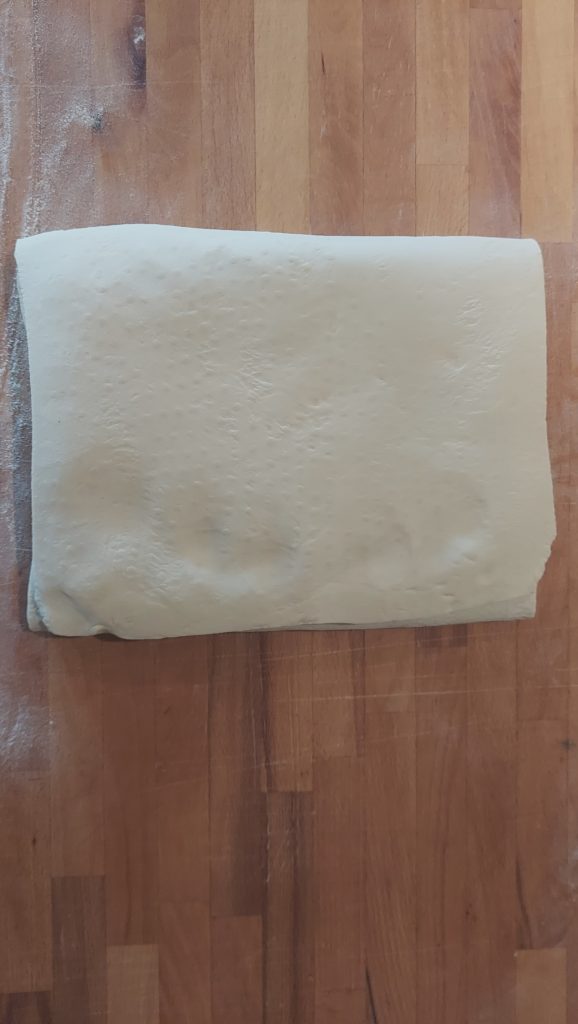
- Place the butter in the center, then fold the dough over from both sides, encasing the butter completely.
- Roll out the dough gently, fold it into thirds like a letter, then repeat this rolling and folding process 2–3 more times. This creates the delicate, buttery layers that make Danish Butter Buns so flaky.
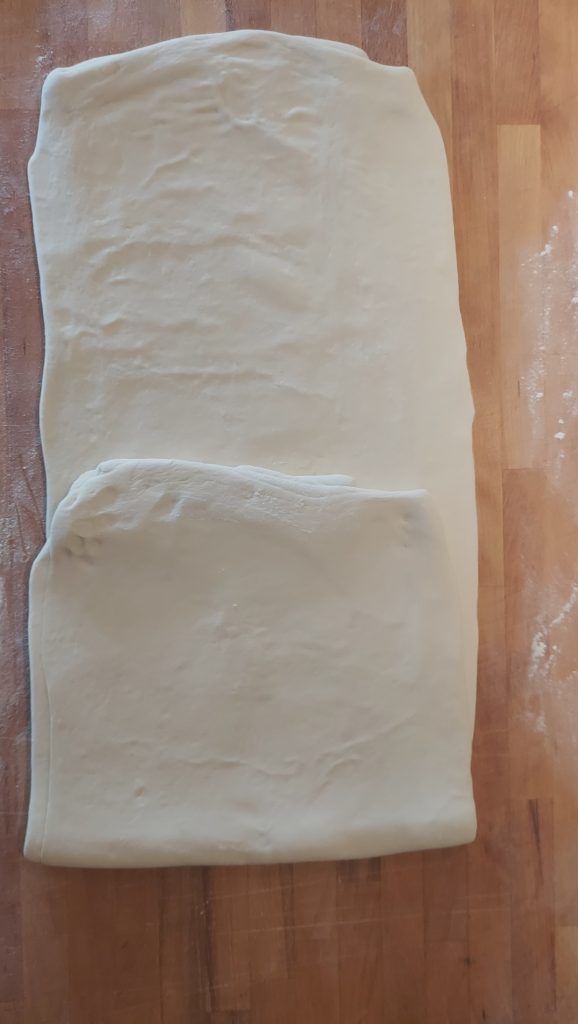
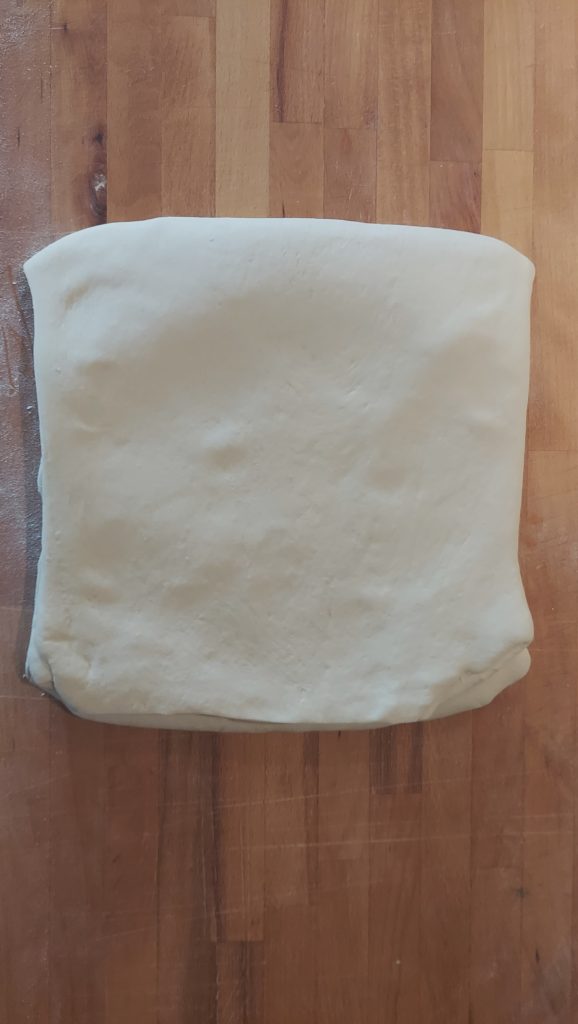
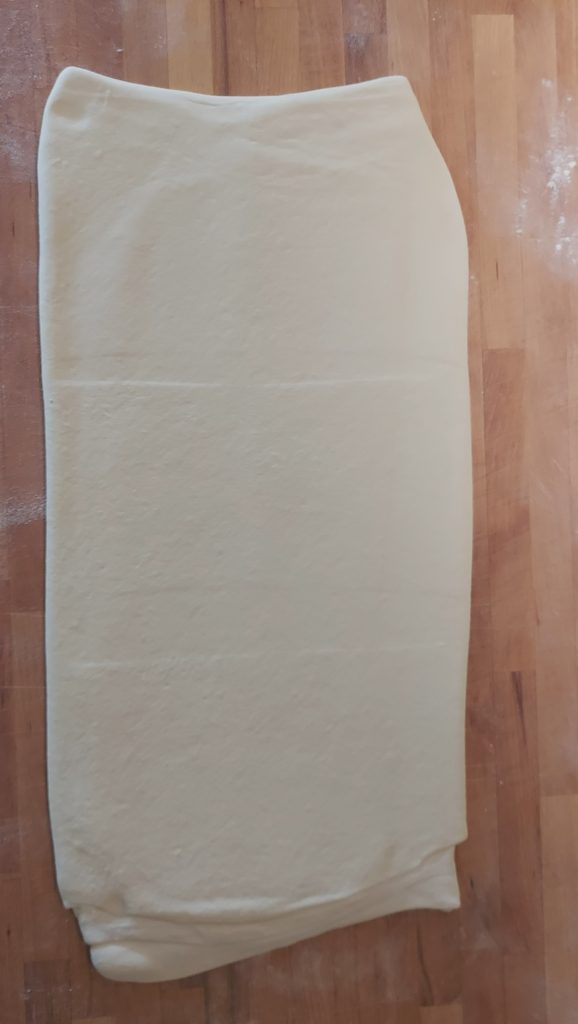
4. Shape the Buns
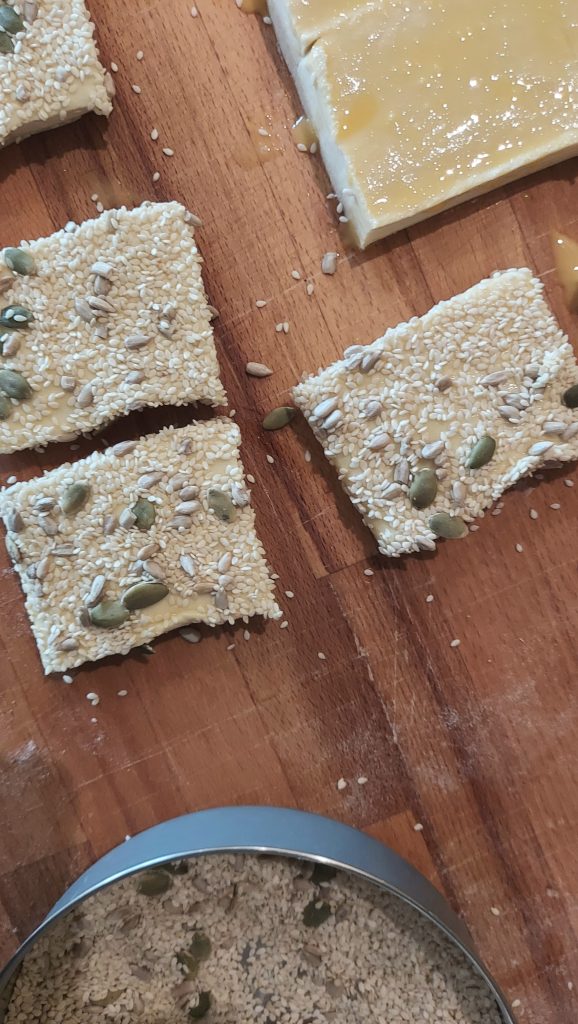
- Roll the laminated dough out to about 1 cm thick, then cut it into pieces roughly 5–6 cm wide and 8 cm long.
5. Add Topping and Cold-Proof
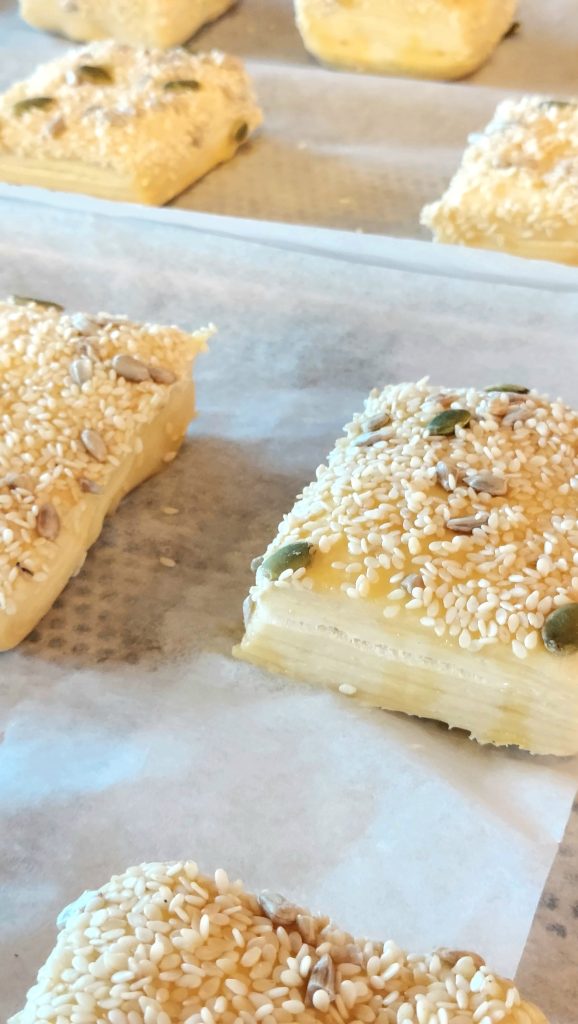
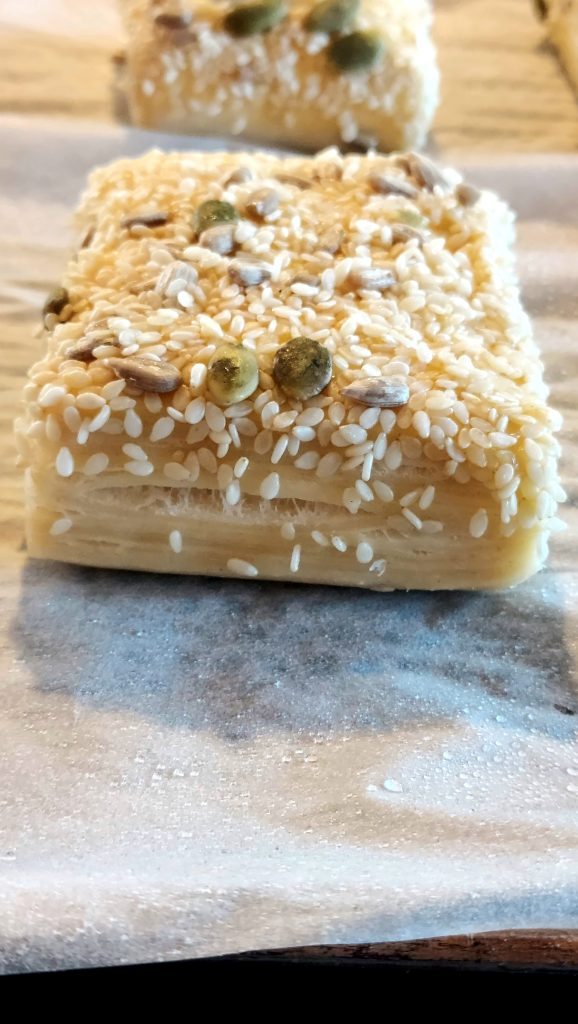
- Brush each bun with beaten egg and dip into the seed mix for an even coating on top.
- Arrange the buns on baking sheets lined with parchment paper, then cover them loosely and refrigerate overnight (8–12 hours) for a slow, cold-proof that enhances flavor and texture.

6. Bake
- In the morning, let the buns come to room temperature for about 15–20 minutes while preheating your oven to 200°C (390°F).
- Bake the buns in the middle of the oven for 15–20 minutes, or until golden and crispy. Your Danish Butter Buns with Seeds should have a beautiful, flaky texture when done.
7. Cool and Serve
- Allow the buns to cool on a wire rack before serving. They are best enjoyed warm, fresh out of the oven, with coffee or tea.

How to Store
If you have any leftover Danish Butter Buns with Seeds, store them in an airtight container at room temperature for up to two days. For longer storage, freeze the buns in a freezer-safe bag and reheat them in the oven at a low temperature to bring back their crispiness.
How to Make These Buns Lactose-Free
If you’d like to make a lactose-free version of these Danish Butter Buns with Seeds, simply substitute the milk with lactose-free milk, and choose a lactose-free butter alternative. The process and flavors will remain just as delicious, so everyone can enjoy this Danish treat.
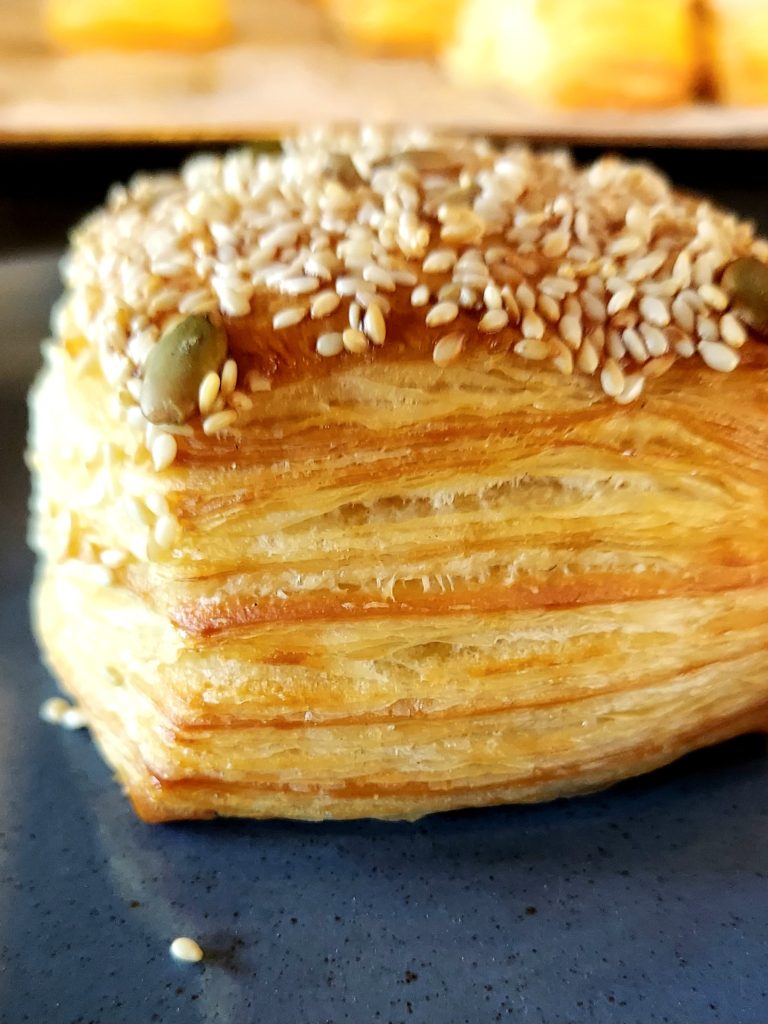
These Danish Butter Buns with Seeds are an easy way to bring a bit of Danish bakery magic to your kitchen, with all the buttery layers and nutty seed topping that make them so unique. Whether you’re an experienced baker or trying laminated dough for the first time, I hope you’ll enjoy baking (and eating!) these delightful buns.
Share Your Creations
If you make these Danish Butter Buns with Seeds, don’t forget to tag me @missbrownsbakeryandbeyond on Instagram or share your results with me—I’d love to see your creations!
This post may contain affiliate links, meaning I may earn a small commission if you purchase through these links at no additional cost to you. Thank you for supporting my work!
You Might Also Like
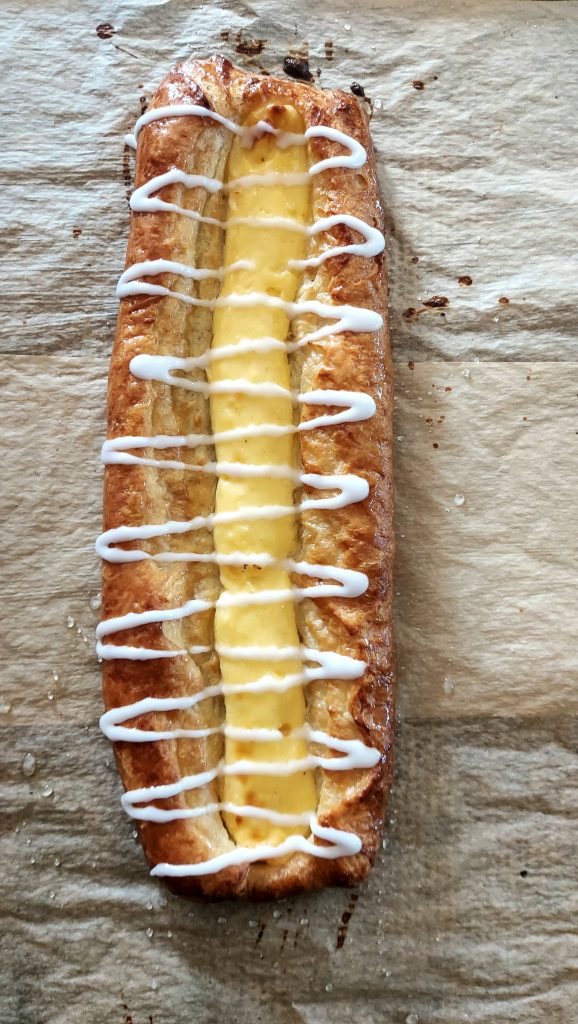
If you enjoyed making these Danish Butter Buns with Seeds, you might also love our 3 Long Vanilla Cream Danish Pastries: A Flaky, Buttery Delight. These sweet Danish treats are filled with smooth vanilla cream, baked to golden perfection, and have the same irresistible flaky texture. Perfect for a sweet brunch or dessert, these pastries bring a touch of Denmark’s classic bakery flavors right to your home!

Danish Butter Buns with Seeds
Ingredients
Dough:
- 1100 g milk (cold)
- 50 g fresh yeast
- 2 egg yolks
- 1700 g flour (adjust for a smooth, elastic dough)
- 60 g sugar (or 60 g honey)
- 25 g salt
For Laminating:
- 1000 g (to be pressed into a flat sheet and chilled)
Topping:
- 4 eggs
- 120-150 g seed mix (white sesame seeds, pumpkin seeds, and sunflower seeds)
Instructions
- Prepare the Dough:Crumble the yeast into a large bowl and dissolve it in the cold milk. Add sugar (or honey) and salt.Gradually add flour, mixing until a smooth, elastic dough forms. Knead until the dough pulls away from the bowl. Let rise under a kitchen towel for 30 minutes.
- Prepare the Butter:While the dough is resting, press the cold butter into a large, flat sheet, using parchment paper or plastic wrap to help shape it. Chill the butter in the refrigerator to keep it firm.
- Laminate with Butter:Roll out the dough on a floured surface to three times the size of the butter sheet.Place the chilled butter sheet in the center of the dough.Fold one side of the dough over the butter, then fold the opposite side over to cover, like an envelope.Roll out the dough again, fold in thirds like a letter, and repeat 2–3 times to create the layers.
- Shape the Buns:Roll the dough to about 1 cm thick.Cut into pieces about 5–6 cm wide and 8 cm long.
- Add Topping and Cold-Proof:Brush each piece with beaten egg and dip into the seed mix.Place on baking sheets lined with parchment paper. Cover and refrigerate overnight (8–12 hours) for cold-proofing.
- Bake:In the morning, let the buns sit at room temperature for 15–20 minutes. Preheat oven to 200°C (390°F).Bake in the middle of the oven for 15–20 minutes, or until golden and crispy.
- Cool and Serve:Let cool on a wire rack before serving. These are best enjoyed warm and crispy!


